Plotový systém Woodlook spája vzhľad dreva s trvanlivosťou kompozitných materiálov. S autentickými detailmi a jednoduchou montážou poskytuje estetické riešenie pre ploty. Jeho dlhá životnosť znamená krásu bez náročnej údržby.


Step 1. Pre-drilling the holes in the side U-profiles and supporting part. Fastening the side U-profiles using a frame dowels with a screws.

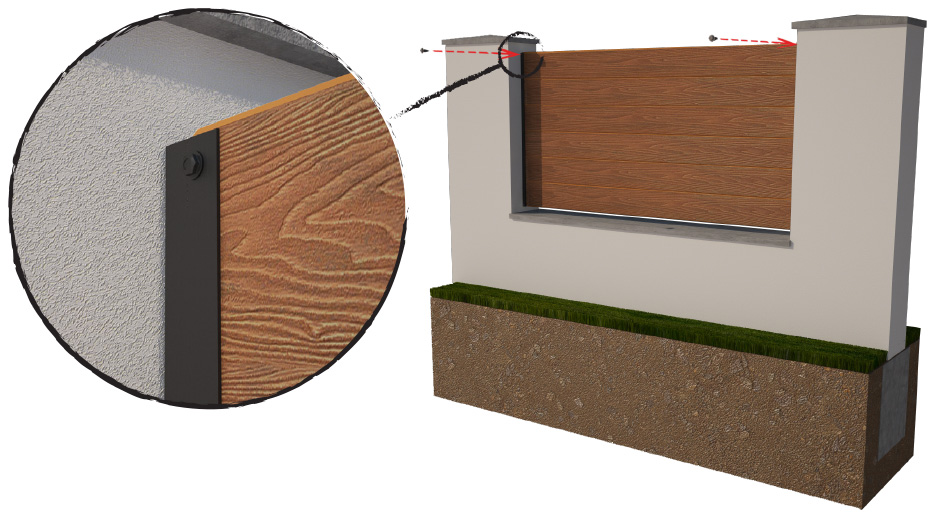
Step 2. After inserting the first fence board, pre-drill a holes through side U-profiles and the fence board itself. Then screw it in with the supplied screws.

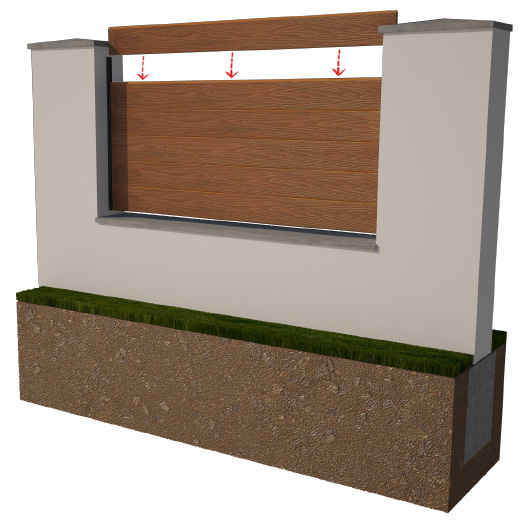
Step 3. Inserting the necessary pieces of fence slats.

Step 4. Pre-drill a holes through both U-profiles and the fence slat itself. Then screw it in with the supplied screws.


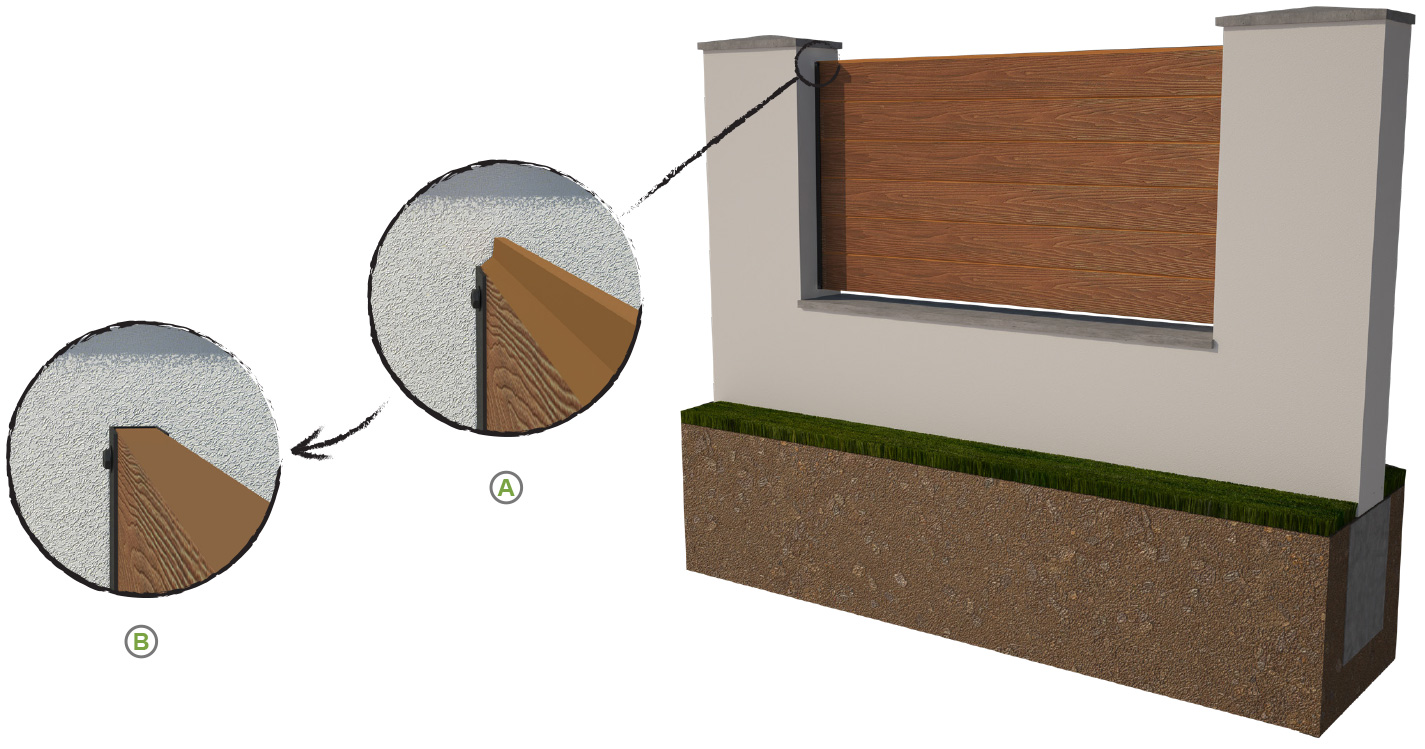
A - Without modification of the top fence board.
B - In order to achieve a straight finish of the top fence board (without a tongue groove), it is possible to modify the Woodlook fence board by cutting off the tongue groove and the chamber, while the total width of the fence board will change from 16 cm to 12.5 cm.
Necessary tools: hammer drill, spirit level, pencil, hammer, drill bit for metal Ø3 mm and Ø6 mm, concrete drill bit Ø8 mm, screwdriver, bit PH2 and PZ3, adhesive tape 3M
Notes: The maximum width of the fence field for the given system without additional reinforcing structure is 1.8m. In case of increased clearance between the Woodlook fence profile and the side U-profile (SUP), we recommend sticking 3M adhesive tape on the inner sides of the U-profile (SUP). The supplier is not responsible for the system if any changes are made to the installation instruction by the customer. It is possible to use a permanent marker of the appropriate color for the repair in case of damage (scratching) to the paint on the screw or U-profile.